How to Operate a Floor Scrubber
You’ve got a large floor area to clean, and you’re wondering where to start. Using a mop and bucket is time consuming and usually just moves dirt around on the floor rather than actually removing it. With a floor scrubber, however, the job is done quickly and effectively, pulling away all the dirt and leaving your floor surfaces spick and span!
So you’ve got your floor scrubber and the space that needs cleaning, be it a workshop, factory floor or building site – what next? How do you actually operate this piece of equipment? In this article, you’ll learn how to use a floor scrubber so you can get the job done faster.
First things first, some preparation:
- Charge your scrubber. This usually takes anywhere from 6 to 8 hours, so make sure you’ve planned ahead for maximum efficiency. A full charge will give you between 2.5 and 4 hours of power, depending on the make and model, and should get you through 50,000 to 70,000 square feet of floor space. Imagine doing that with a mop – it would take ages!
- Connect all hoses so you’ve got solution flowing where it needs to go, and be sure your squeegees are attached correctly and are in good condition.
- Check for leaks/damage. You don’t want to use your floor scrubber if it’s not functioning properly, so ensure it’s good to go before you get started.
- Read through the instructions. Again, the make and model of your floor scrubber will determine a number of pointers on how to run your machine, so be sure you’ve thoroughly read through those specific to yours so everything is done right.
- Fill the tank with your cleaning solution and water as specified by your machine’s instructions.
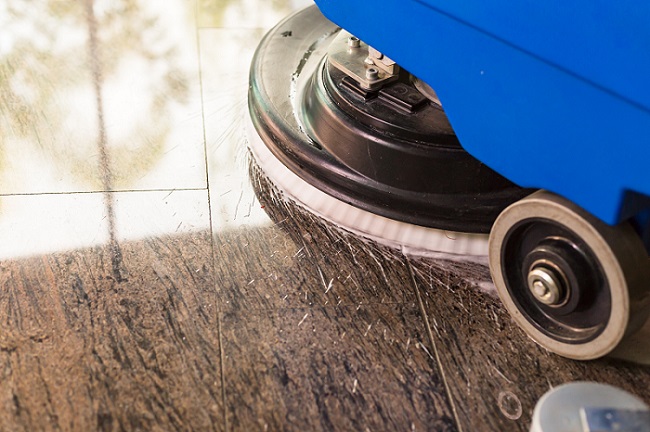
- Choose the correct pad or brush and mount it to the underside of the deck. This will be determined by the surface of the floor you’re cleaning. For smooth surfaces like waxed or marble floors, a less aggressive white or red pad would be the best option. For uneven or rough floors like concrete, a tougher pad or brush, such as a black or brown one, should do the trick.
- Put on the recommended protective gear and clothing, including eye protection and a mask around your nose and mouth.
Now that your floor scrubber is prepped and ready to go, let’s look at its operation:
- Prep the area you’ll be cleaning by removing any furniture or other obstacles that may hamper your efforts. Also be sure to place a caution sign for anyone passing by so they know to watch their step for slick, wet floors.
- Use a dust mop across the entire area to remove any major dirt, debris or trash that can obstruct the head of your floor machine or squeegee assembly, or cause streaks across the floor.
- Divide the space in halves, completing one side before continuing to the next.
- Start from the outside of your space and work your way in, making wide sweeping turns to ensure you recover all of the solution your scrubber has put down behind it.
Note: You’ll need to break out a mop or handheld scrub pad if there are any spaces you can’t access on your floor scrubber. For particularly dirty floors, it may be necessary to go over the entire surface twice to get it looking clean. If you plan to do a twice-over, leave the squeegee in the up position and leave the vacuum motor off to do the first pass with just scrubbing. The second time, you’ll place the squeegee in the down position and turn on the vacuum motors.
Once you’re done with the cleaning, make sure you put the room back to its original state when the floors have completely dried.
Your floors are clean, everything is back in its place and you’re ready to go home – but wait! First, you’ll need to do a couple of last steps in winding down your floor scrubber so it’s ready to go for the next cleaning. To do that, follow these steps:
- Empty out your floor scrubber’s dump house into a slop sink or floor drain.
- As this is being done, hose out the inside of your recovery tank until the drain hose is emptying clean water.
And there you have it – the process of floor scrubbing! Soon, you’ll know these steps like the back of your hand, and will follow them like second nature. Feel free to reach out to us with any and all questions you may have about using our professional floor cleaners, or anything else related to floor scrubbing. Good luck!
 Deals of the Day